Silt Fence Installation Procedures – How To Install Silt Fencing
Silt fences are an essential measure taken to prevent erosion in a wide variety of applications. These range from small garden projects to large-scale industrial operations. Silt fence installation, however, remains largely the same. The following step-by-step process will show how to properly install traditional and prefabricated silt fences for the highest performance.
Laying Out
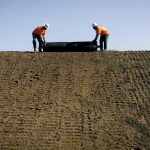
The first step is to lay out your silt fence and establish a fence line. For traditional silt fences, place wooden or metal stakes on each corner of the silt fence fabric. The distance between the stakes depends on the project application. Areas with harsher erosion will require smaller distances between the stakes. Prefabricated silt fences come with the stakes already attached, so you only need to do is lay the fence out. Once you’ve laid out all of the fencings and established your fence line, it’s time to start digging the trenches.
Digging Trenches
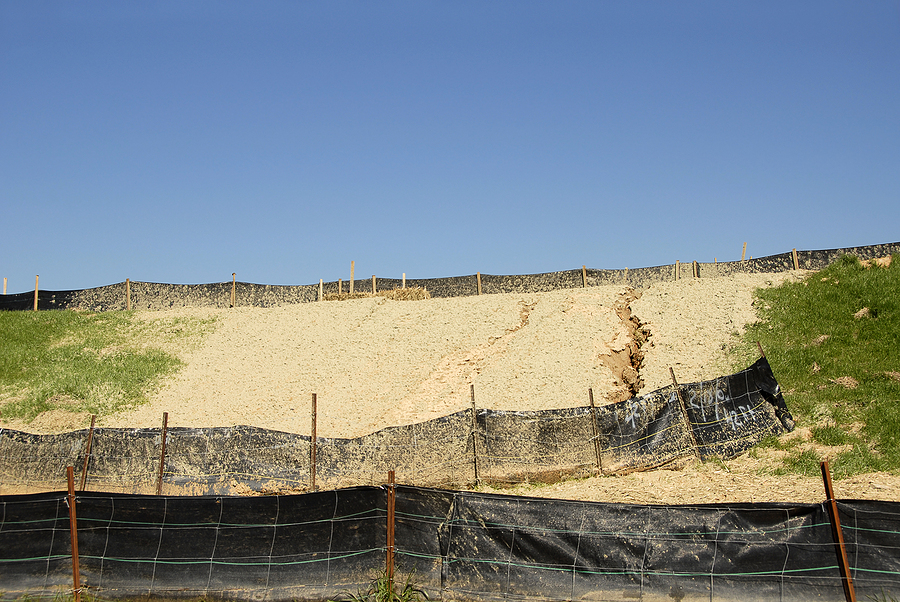
The way silt fences maintain soil structure and prevent erosion is by being installed partially below the surface. The buried silt fence prevents water from flowing underneath, which causes erosion. It also adds structural integrity and strength to the fence, allowing it to withstand heavy winds and other harsh weather conditions. Trenches should be dug 12 to 24 inches wide and 8 to 12 inches deep along the fence line you already established in the previous step of silt fence installation.
Staking
After the last trench is finished, walk down the line using a sledgehammer to drive the stakes in. While the uniformity of the stakes doesn’t greatly affect how effective the fence is, it does have an effect on aesthetics. For a better-looking fence, make sure each stake is driven at the same distance as the next stake. Prefabricated silt fences come with stakes that are already evenly distributed.
Attaching The Silt Fence
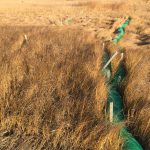
The next step in silt fence installation is attaching the fence to the stakes (not applicable for prefabricated fences). One section at a time, roll out the silt fence fabric and make sure it is on the side where water runoff will flow from. Using 3-5 staples and a heavy-duty staple gun, attach the fence to each stake. If you have a wire-backed silt fence, you would use wire ties to attach the stakes. The bottom flap of the fence should point in the direction of the water flow and should be flush with the bottom of the trench.
Backfilling & Compaction
After the fence is in place, it’s time to start backfilling the trenches. Start by backfilling 3-6 inches along the entire trench to keep the bottom flap in place. Backfill the rest of the trench and tamp down the soil with a heavy compactor. Mechanical compactors work the best but manual metal tampers will work also.
Maintain the Fence
Now it’s time to maintain your silt fence. Maintain the fence by routinely checking the fabric and posts for damage, as well as for any failures in the fence to withhold sediment. Make sure to install additional backup silt fencing if necessary.
Silt Fence Installation – Where To Start
At IWT Cargo-Guard, we offer a variety of sediment control products that provide the best management practices for sediment control on your work site. Our products are made with high-strength, high-quality materials that withstand the stresses associated with sediment runoff near waterways.
From dewatering bags for silt to coir logs and silt fences, we’ll equip you with the right sediment control products for your project. IWT Cargo Guard’s mission is to provide the most cost-effective products for your project. By quickly analyzing the products and services required for the project, we become an extension of your estimating department. Call us at 609-389-6865 or contact us today so we can discuss the use of silt fences for your next project.